I had someone ask me about a sustainability trade-in program on Instagram this morning. It took me a minute to figure out what they were talking about, but once I did I realized I needed to clarify some things.
The Wright & Rede sustainability program has been in place since I sold my first wallet in 2012. It is the foundation around which I built my business.
There are three core values to my program.
- Make things well to begin with
- Take good care of them
- Repair them when they get old
Let’s take a quick look at how that all works.
Make Things Well to Begin With
I work exclusively with vegetable tanned leather from Wickett & Craig in Pennsylvania. I work with leather because, when properly maintained, it will outlast any other material I could find. Cotton is horrible for the environment. Linen doesn’t last as long. Synthetic materials are just different kinds of plastic. Leather is also a byproduct of the beef industry. The environmental impact of this does not escape me, nor does the fact that something had to die so I could make what I do. I am making something from the waste of a harmful industry with the hope, that if I do my job right, the impact of what I am making occurs only once because it doesn’t need to be replaced every few years.
I work only with vegetable tanned leather. Chromium tanned leather is the industry standard and represents the vast majority of leather produced. Chromium salts are carcinogenic and their environmental impact and the negative health effects on those that interact with them are well documented. Veg tan leather also has its downsides. Mostly in the form of the energy used to create it, the large amount of water used to process it, and the organic waste it produces. Any material I use is going to have an impact. Wickett & Craig has programs in place to reduce and manage their waste products which is why I do business with them. I’m also shipping leather from Pennsylvania to Ohio instead of across the globe.
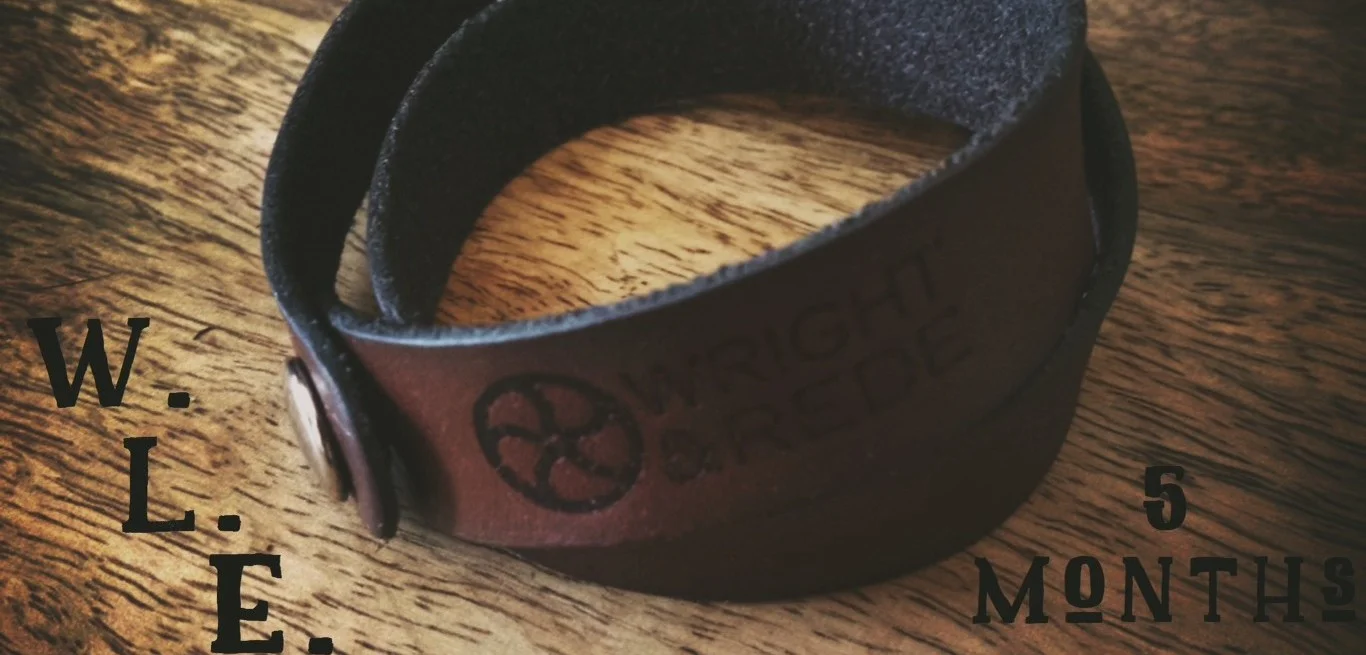
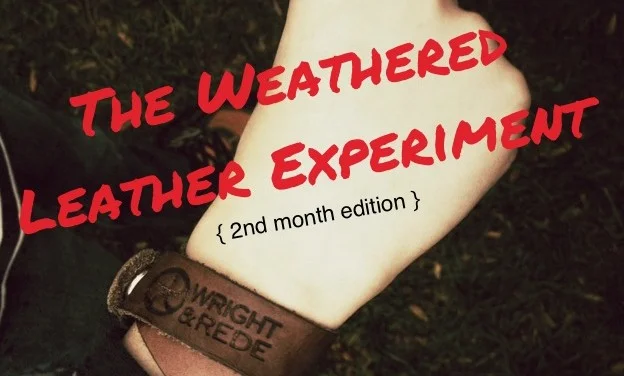
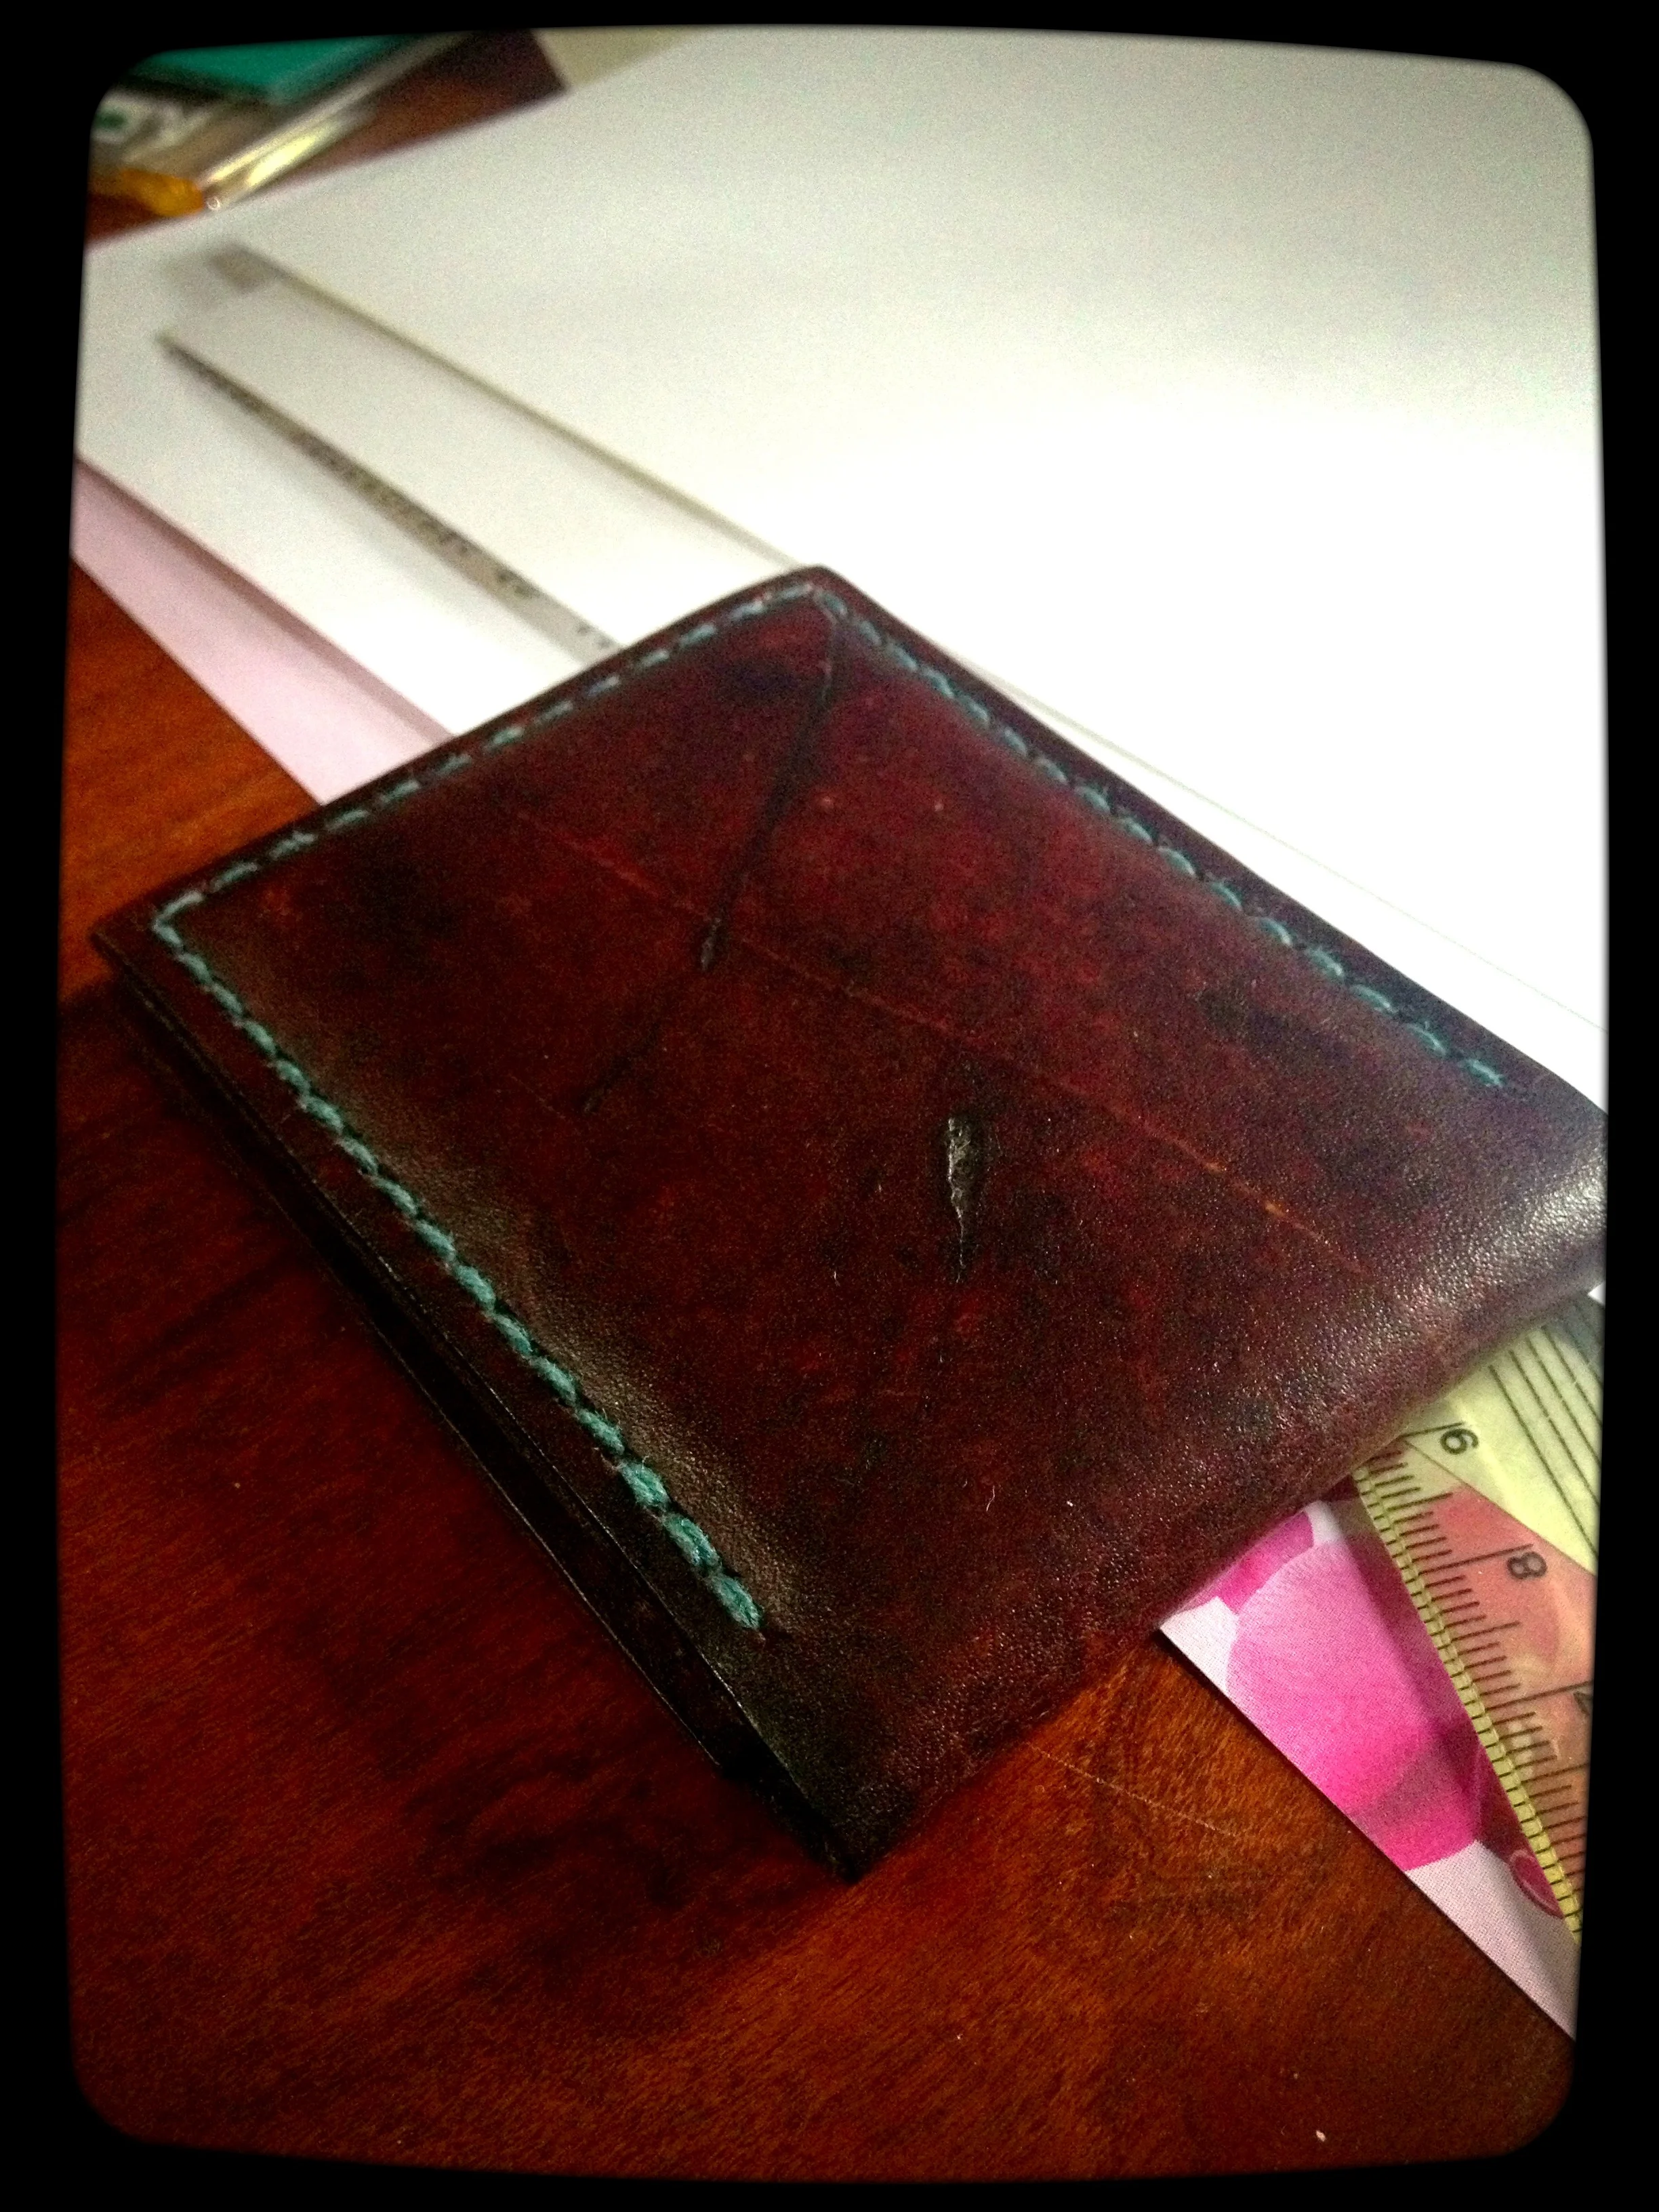
Veg tan leather is also unique in its ability to develop a patina. With time and use its color will darken, get softer, and acquire a rich luster. Chromium tanned leather doesn’t do this. It just wears out.
Finally I hand stitch every single piece I make. I don’t do this to be cute. A proper saddle stitch cannot be done on a machine and will outlast any machine stitched seam by years. It is also easy to repair. We’ll get to that in a sec.
Take Good Care of Them
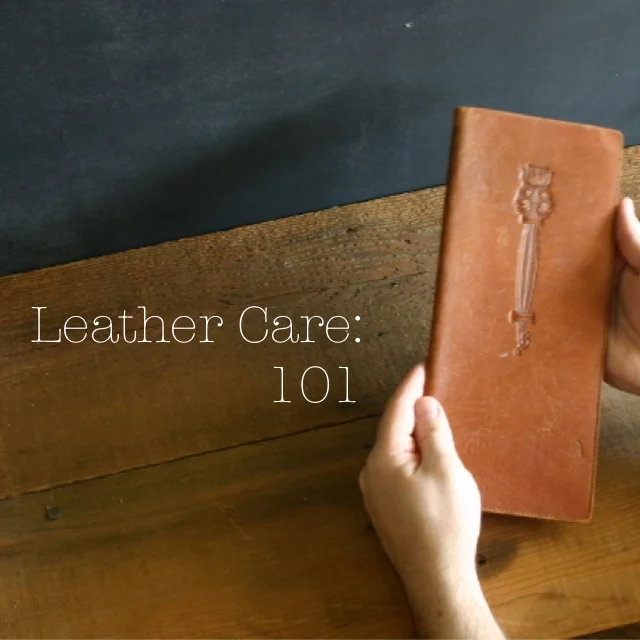
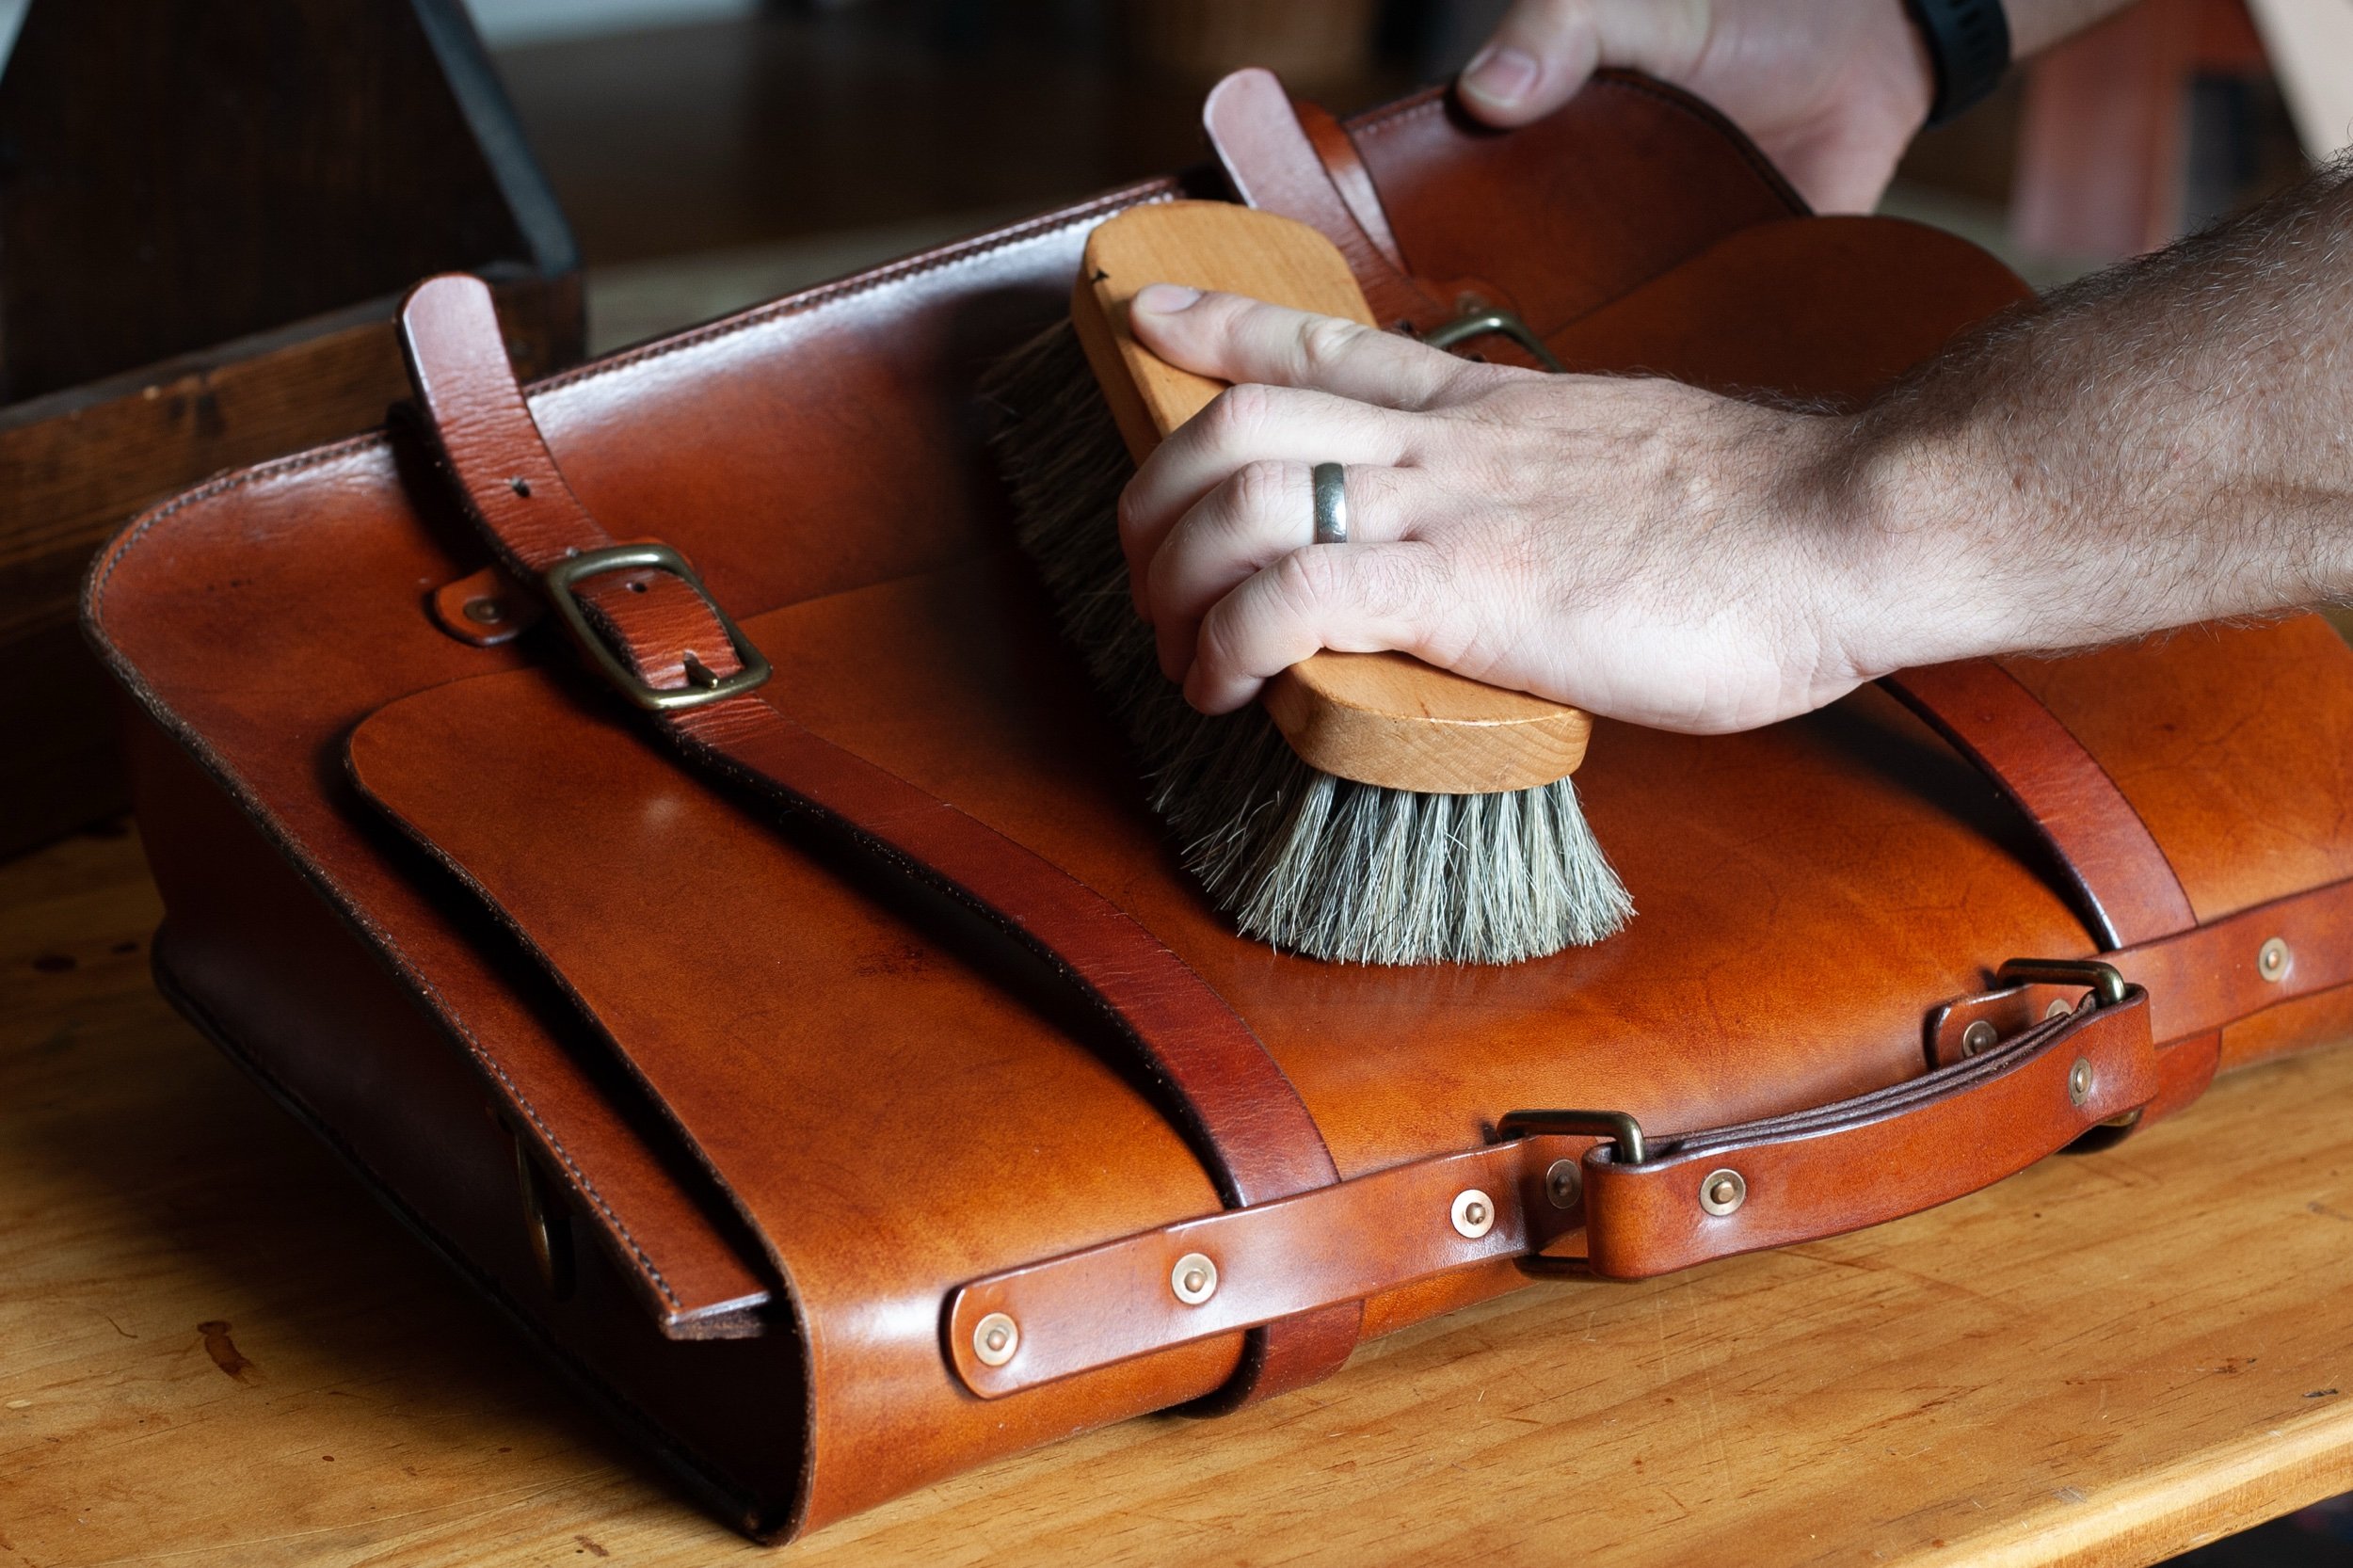
Every piece I sell comes with written instructions on how to take care of the leather (condition it every 6 months). I also tell every single customer who buys something in person how to maintain their leather at the time of their purchase. Again, I’ve been doing this for every single sale since 2012. When I got my studio space in 2018 I began offering in house conditioning service. If you bring your W&R gear up to the studio I will condition it for you. For free. Forever. It’s not a marketing strategy. I actually want these things to last as long as possible. (I’ve also been know to tease, cajole, harass, and preach to every customer who busts out their old W&R wallet to show me. “Have you been conditioning the leather????”)
Repair Them When They Get Old
I’ve been in business for almost thirteen years now. Nothing lasts forever. Some of the first wallets I made are starting to show their age and get loose seams. The fix to this is to cut the seam open, remove the old thread, and restitch the seam. They are designed to work this way. I want the thread to fail before the leather. The thread takes 5-15 minutes to replace. The leather cannot be replaced. The only time I charge for this is when the wallet is shipped to me (I charge $5 to pay for the return postage and packaging). If you bring it up to the studio and it’s a quick fix due to simple aging you won’t owe me a dime.
I also teach classes on how to saddle stitch. I do this to keep this knowledge alive and available. Every single person who has taken one of my classes has walked out the door with a successfully hand stitched wallet. With this knowledge they can now repair their own wallet, fix old boots, replace a seam, or even start their own leather working business. They can also teach this skill to other people. I have no way to measure this but I imagine the positive environmental impact of teaching people how to fix their own stuff is significant and lasting.
I Do Not Offer a Trade In Program.
Trading in your older stuff to buy new stuff is not sustainable. If I were to take my three year old car to the dealership and trade it in for a new one no one would say I was being sustainable. This is also true for leather goods. Anyone who tries to sell you a different story is just greenwashing.
Make good things. Take care of them. Fix them when they break.


Just a few of the items I’ve cleaned/condtioned/repaired over the last few years.