

Making a Mercer. Part 2.
Hand dyeing.
I started Wright & Rede with $150.00 I had set aside from my tips waiting tables in a restaurant. In the early days I had to be creative with how I spent that money.
Leather is typically sold by the side (half a cow). On average that’s 20 square feet and can cost between $100-$300. So in the beginning my $150 would buy me one side, which meant one color of leather at a time.
I realized that if I purchased un-dyed leather I could have all the colors I wanted if I dyed it myself. Problem solved. I soon discovered that hand dyeing is an art form in itself. There is a reason large scale tanneries do it with sprayers or in vats.
I’d describe hand dyeing as similar to watercolor painting. I have a rag loaded with wet dye. The first place I set it down on the leather is going to get a big dark blob. Then there will be streaks, blotches, and areas that just don’t take as much dye. It used to drive me nuts. I wanted the uniformity I saw in professionally dyed leather.
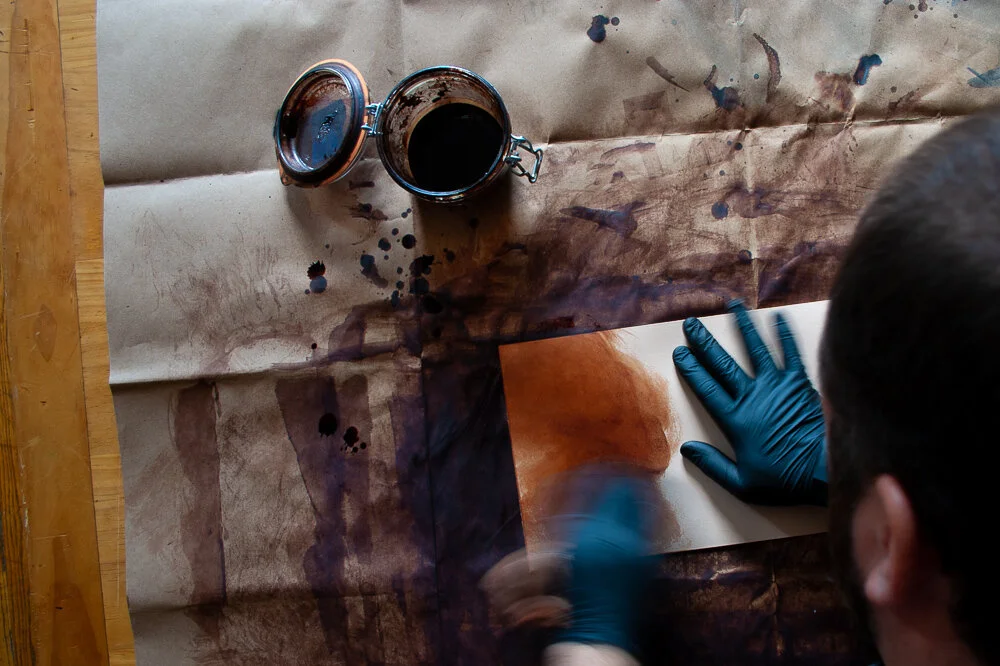
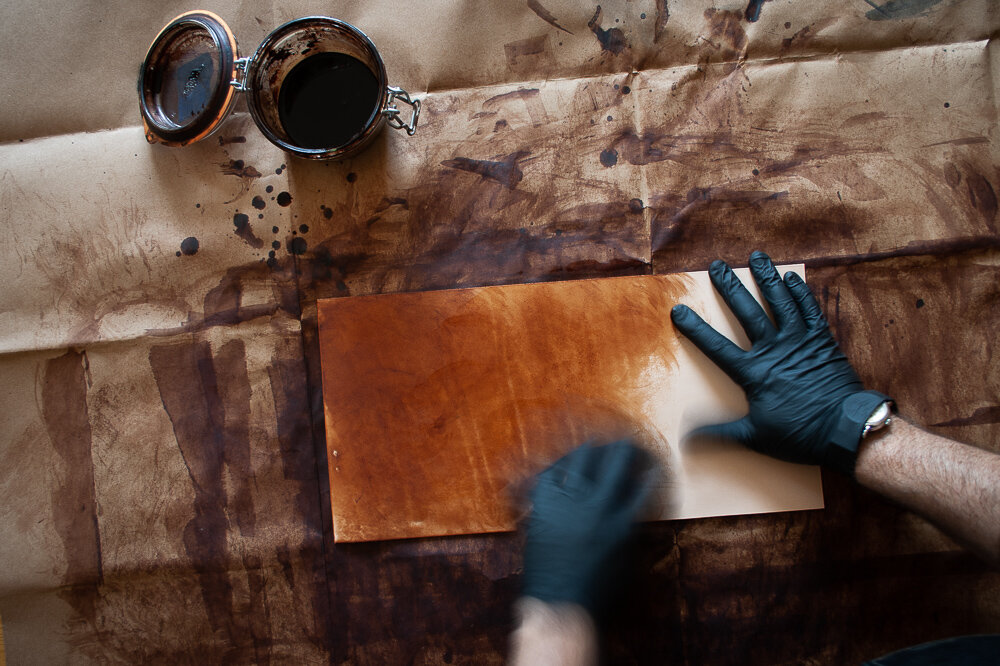
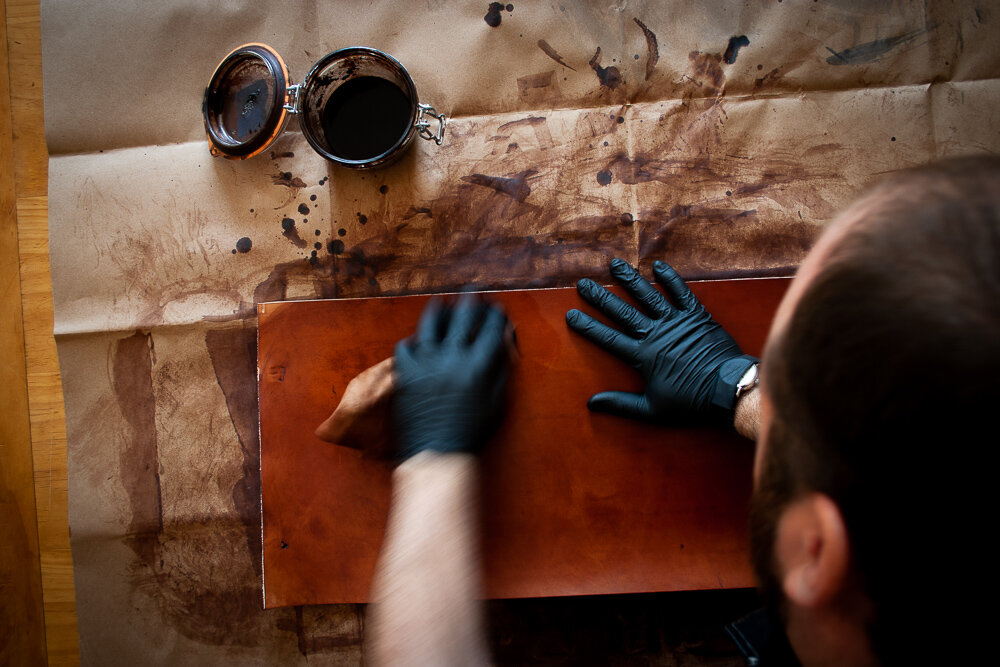
It was when I stopped looking for something that looked factory made that I really started to see the potential. I’ve always belived that the best crativity comes from limitations. So I leaned into the inconsistencies.
After eight years of practice I’ve developed a method I’m pleased with. Using heavy dilutions of dye combined with multiple passes, and some confidence with what I’m doing, I am able to produce work that is unique to me. No one will ever be able to apply dye in quite the same way. Much in the same way two painters will paint the same scene differently or that no two finger prints are the same.
As a result each and every piece I make is completely unique. What I once saw as a handicap has become something by which I define my style.


